Thursday, 14 October 2021

La Studio - Masion Grise Work Begins

 Removal Preparation  Work

So Day 1 of the removal started with a test attempt using my Impact Chisel Hammer to remove the old Concrete Oil Tank Base and whilst some patience could have result in success it would be very time consuming, so I have decided to hire a Pneumatic Hammer from LOXAM next week for 2 days which should do the job!

Here are some pics before work starts:

This is the East Side Upper Door to what looks like a Hay Loft


This is the left side, inside the Hay Loft.  The Central Dividing Wall will allow me to knock through to the East Side Loft and install a door between both sides, with internal stairs up to the rear corner of the Hay Loft from downstairs and make good of the space into the ceiling where a rear corner wooden beam would otherwise need replacing


This is the East Side Upstairs.  This gives a 2.5m head clearance and and indicated it seams the roof is "newish" and should allow insulation and plasterboard to be installed, which exposing the original main wood beams 


This is the North East Rear Side Upstairs


This is the East Side Room Downstairs looking towards the West and through the existing door opening 

This is the East Side Room Downstairs looking towards the North East Corner from the existing door opening 
This is the West Side Room Downstairs looking towards the South Door  and shows the internal door opening to the East Side Room


This is the Rear of the East Side Room Downstairs looking from the South Door to the North. It shows where the rear stone wall was removed to allow the Oil Tank to be inserted.

I will remove the Breeze Blocks and install double French Doors to a rear patio area 


I decided to started by removing the floor ceilings in both side and it is proving a lot easier than expected, as the mud floor is simple laid on  some Wooden Lathe Strips across the main support beams, without any fixings and then mud applied about 30mm thick and left to dry.  I managed to remove all of the Left West Side and about 1/4 of the Right East Side today.

It has proved useful as this material will be saved and can then be used to repair the platform floor in the main barn in an original manner in the damaged areas.  RESULT!!

Tuesday, 12 October 2021

Autumn Visit October-November 2021

La Studio Renovation

I am just about to start a 4 week visit that will see the commencement of work to renovate the stone building at the rear of La Maison Grise. This is a small 22sqm building with two downstairs rooms and loft areas.  Not sure what it was originally for, but when we acquired the property in 2012 it housed the Heating Oil Tank.  One of the very first tasks was to get a local welder to dismantle the tank and remove it with the boiler and all the radiators in the house, but since 2012 it has not been used.

The plan is to Insulate the floors downstairs and tile and install stairs to the attic and knock through the central wall to create two accessible rooms upstairs. Seal and apply Insulated Plasterboard to the exterior walls and ceilings.  I will have windows installed internally to the openings and and new main door at the front with French Doors to to rear.  I will also render the exterior walls and finish with guttering to the rear and front.

Once complete, with the underfloor heating, it should be a nice usable space for a Studio/Playrooms in the future and for a modest cost will hopefully add future appeal to the property.

Here below is an outline of the work plan that will hopefully see all completed by Summer 2022.


Saturday, 1 May 2021

Spring Visit - March -April 2021

The plan for this visit was to apply the scrim to the plasterboard in the attic of La Maison and a thin plaster coat to all the joints, as well a being there to see the West Side Exterior Wall rendered.  Well, the best laid plans can always go wrong!!


Firstly, the English guy who gave me a quote and delayed the work multiple times let me down at the last minute and a local French company I had previously used on La Grange did not respond to my request for a visit and devis!  But as luck would have it, I was visited by a team who had approached me 3 previous times to render the wall and went with them.


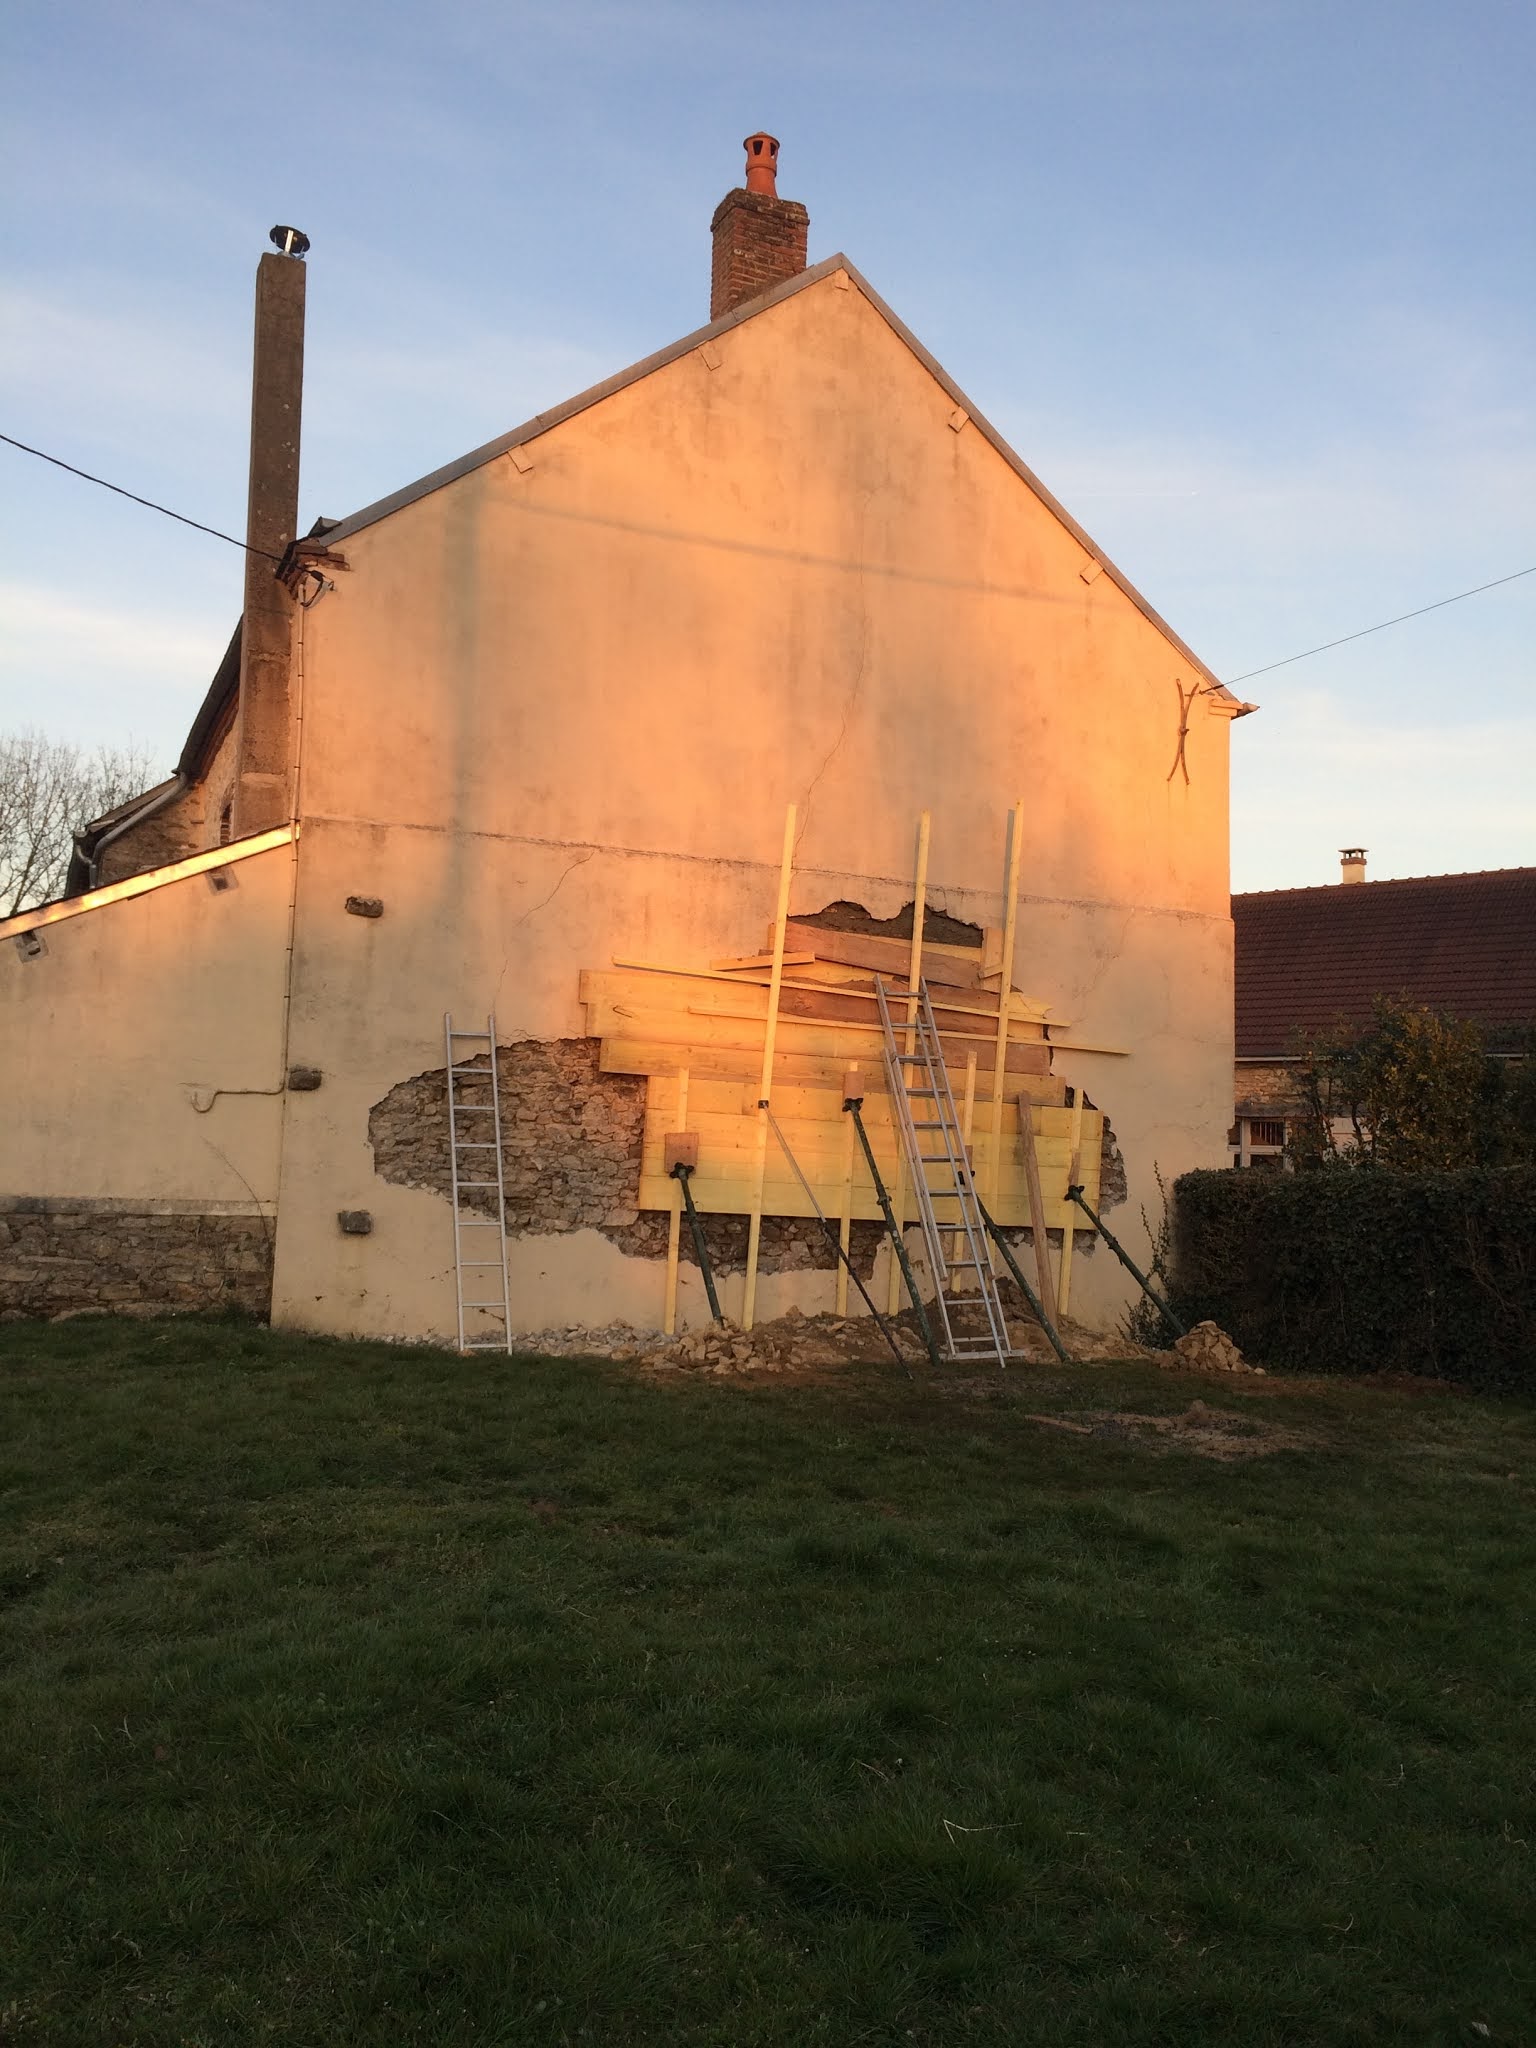
All was going to plan as they commenced to remove a layer of the old rendered applied over the 500mm thick stone wall, until mid day, when I heard a loud rumble and discovered a 6m2 section of the wall had collapsed, about 2/3rd deep....Ahh!! PANIC.                                                            The problem was the water ingress had liquified the mud/sand mortar, probably caused by the cracks that appeared and the beating of the rain and wind on this elevation.                                                                      They responded really well and fortunately, my acro props were at hand to be used and some old boards I had saved to support the structure overnight, with a tarp as covering to protect against the expected evening rain.

They got a Mason colleague to visit the following day and used the stone and concrete to fill the hole and some big beams applied with the reinforcement of the acro props to hold all in place for 3 days whilst everything dried.  

Fortunately,  we had no rain and a heat wave started with blazing sun that saw the mud slurry start to dry even as the concrete layers were being applied. 


The following week, the rendering layers were applied, with added resin and waterproofing to the whole wall, to avoid disturbing it any more.  


This was followed by the Weber Render to the external surface to create the final finish and I decided to have the back and front completely rendered as well.


So, having delayed my visit by two weeks the end result is pleasing, albeit costly and not planned.  As a result, I also got near the Schengen 90 in 180day limit!  When I return in the Summer I plan to paint and refit all the shutters and tidy up, before commencing the completion of the La Grenier later this year.

Nearly Finished

Finally, here is a short video, that was cut short due to my iPhone yet again crashing!!


Friday, 15 January 2021

January 2021 Project Work Continues

I arrived at end December 2020 to continue with the attic work at La Maison Grise and managed to avoid any hassle from an early January crossing, complete with a Covid PCR Test, which French Border Control were not interested in!

Been here under lockdown restrictions for 2 weeks now and been busy doing tidy up work to the Insulated Plasterboard walls and the Ceiling Plasterboard.  Lots of fiddly and time consuming work, but all complete now and just some fine filling to do next week.

I initially switched all the Radiators in the house ON to provide some warmth, but this blew the 6kv Mains Supply Fuse.  I decided to switch most rads off, but left the underfloor mats in the Garden Room and Bathroom on, with the Salon and Stairs/Landing rads on at 14 degrees, This was more than adequate to take any chill away and I have determined we will need to increase the supply to 9 or 12 KVA at a later stage.

The Store and Services Rooms have been fully framed and insulation installed, then both walls and ceiling board. Again fiddly work around the main back horizontal oak beam, but eventually all worked OK.

I decided to check the electric cabling I had installed, before finalizing the boarding.  I did this with a Light bulb fitting at room ends and the supply end of the cable attached to a Plug into an extension leads.  All proved successful!

Retaining the wood and boarding off cuts has proved invaluable and leaves very little waste to take for recycling next week.

I finally cut the skirting board for the main space today and will do the Store and Services Rooms next week, although delay fixing until plastering is complete, once the virus restrictions are relaxed.

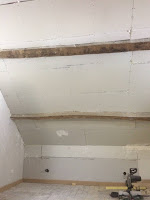
Here below are some pics of the room today and once I empty and clean up, I will attached a video:
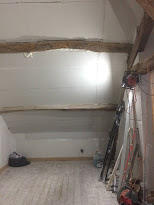

West Back
Service Out
West Front
East Services Side
West Front

East Ceiling
Across Attic


Weekending 24th January 2021

So the week ended with me having been able to complete the work I had planned for this trip.  

  • All the insulation has been installed and I applied extra spare Fiber Installation on top of the Foil Insulation of into the voids
  • All the electric cables for Down Lighting , Sockets and Radiators was run throughout the ceiling and walls
  • Installed Plasterboard has been applied to all the stone walls and Plasterboard to the ceiling and new partition walls.
  • Expansion Foam has been used to fill the difficult gaps that it was not suitable for plasterboarding 
  • Outside Corner Strips has been applied to the Chimney Breasts
  • All the skirting board has been cut and positioned, although not yet secured as plastering needs to happen.
  • I have tested all the electric cable runs using a light fitting and connection the fuse box end to an extension lead.  I will hopefully get ALS Frappat to connect to the fuse box later this year.
  • My tools have been moved into the Store Room and the floors swept and tidied . 

I will do a final video before leaving next weekend and post below.

La Maison Grenier Renovation Video

Key Tasks Still To Do Next Trip (Whenever I am allowed and able to come!)

  • Scrim all the board joins and over gaps
  • Fix Paper Corners on the boarded internal corners
  • Apply thin coat of plaster jointing
  • Level the stair sides
  • Replace damages floorboards
  • Deep Clean the flooring joints
  • Sand the wooden floorboards
  • Fix Door Handles

Wednesday, 11 November 2020

Autumn 2020 Visit Work

I arrived at end October before the France Covid Lockdown came into effect and had fortunately preorder with Gedimat to deliver materials needed during w/c 2nd November.  They delivered without an issue on Monday 2nd and this allowed me to commence work without delay.

I had prepared the following Work Tasks to convert the Loft into a usable space:

·      Remove Old Floor Insulation

·      Clean Floor

·      Wood Treatment on Floor and Roof

·      Create Loft Floor Door Frame

·      Build Loft Door and Insulate

·      Run Electric Cables for Wall Sockets

·      Run Electric Cables for Roof Downlighters

·      Line Perimeter Back + Front Walls 14x0.6m Insulated PB

·      Line Side East * West Apex Walls Insulated PB 21sqm

·      Plasterboard Stairs Wall West Side

·      NorthEast Corner Store Rooms Stud Frame

·      Plasterboard + Insulate NE Corner Store Room

·      Fix 2xDoors & Frames 800x2000

·      Insulate Roof 21sqm

·      Plasterboard Roof 21sqm

·      Render both Chimney Breasts

·      Floor Sanding and Staining

·      Spray Paint Plasterboard

·      Install Light Switches

·      Install Downlights

·      Install Power Sockets

·      Fit Skirting Board

 WeekEnding 8th November

Here are some snaps of the work progress during the week:

I had already ordered the doors and frames from Lapeyre and as before created the partition framing around the three doors that will allow the loft to be accessed from tbe stairs and create a Store Room, as well and as a Utilities Room for the electric fuse panel, bathroom water heater and Sun Tunnel.

The doors are square and opened without adjustment, so once the ceiling is completed the framing to plasterboard will be added.

I had a lot of Tyvek House Wrap left from previous work and to avoid the insulation touching the roof tiles and to create a 25-30mm air flow space and vapour barrier, I used the wrap across the vertical roof beams 

Weekending 15th November 2020
Having completed the fixing of the Tyvek, spent the week securing the SuperFoil40 insulation across the sloping roof and securing with horizontal Chevrons to the main vertical beams and then additional vertical Chevrons that would provide the support for plasterboard and additional vapor gaps.
The SuperFoil has 37 layers of foil and insulation to protect against the cold and heat.  it was easy to install, but needed sharp scissors and a knife to cut and then sealed with foil tape and stapled on the edge to keep in place until the chevrons are applied.

Weekending 22nd November 2020
Having completed the fixing of the Tyvek, spent the week securing the SuperFoil40 insulation across the sloping roof and securing with horizontal Chevrons to the main vertical beams and then additional vertical Chevrons that would provide the support for plasterboard and additional vapor gap.

I also create a structure for a central ceiling for downlighters than would allow the A-Frame Structure to be exposed and for extra ceiling insulation supported.  Additionally, I cut 10 Insulation boards in half and 30 plasterboards to be able to lift them up into Bedroom 3 in advance of finally lifting them into the loft!

In advance of plasterboarding, I installed the sheathed electric cable runs for lighting, radiators and sockets.  Despite initially forgetting, I installed the light switch cables eventually as well!

Weekending 29th November and 6th December
Having completed the insulation and support structure the next two weeks involved securing Insulation Board to the stone walls on both chimney said Apex Walls and the low front and back walls.  Then securing plasterboard to the both front and back roofs and the flat ceiling.


                          Le Grenier Video