I arrived at end December 2020 to continue with the attic work at La Maison Grise and managed to avoid any hassle from an early January crossing, complete with a Covid PCR Test, which French Border Control were not interested in!
Been here under lockdown restrictions for 2 weeks now and been busy doing tidy up work to the Insulated Plasterboard walls and the Ceiling Plasterboard. Lots of fiddly and time consuming work, but all complete now and just some fine filling to do next week.
I initially switched all the Radiators in the house ON to provide some warmth, but this blew the 6kv Mains Supply Fuse. I decided to switch most rads off, but left the underfloor mats in the Garden Room and Bathroom on, with the Salon and Stairs/Landing rads on at 14 degrees, This was more than adequate to take any chill away and I have determined we will need to increase the supply to 9 or 12 KVA at a later stage.
The Store and Services Rooms have been fully framed and insulation installed, then both walls and ceiling board. Again fiddly work around the main back horizontal oak beam, but eventually all worked OK.
I decided to check the electric cabling I had installed, before finalizing the boarding. I did this with a Light bulb fitting at room ends and the supply end of the cable attached to a Plug into an extension leads. All proved successful!
Retaining the wood and boarding off cuts has proved invaluable and leaves very little waste to take for recycling next week.
I finally cut the skirting board for the main space today and will do the Store and Services Rooms next week, although delay fixing until plastering is complete, once the virus restrictions are relaxed.
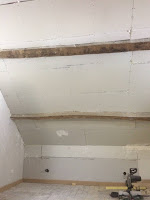
Here below are some pics of the room today and once I empty and clean up, I will attached a video:
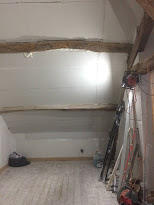 |
| West Back |
 |
| Service Out |
 |
| West Front |
 |
| East Services Side |
 |
| West Front |
 |
| East Ceiling |
 |
Across Attic
|
Weekending 24th January 2021
So the week ended with me having been able to complete the work I had planned for this trip.
- All the insulation has been installed and I applied extra spare Fiber Installation on top of the Foil Insulation of into the voids
- All the electric cables for Down Lighting , Sockets and Radiators was run throughout the ceiling and walls
- Installed Plasterboard has been applied to all the stone walls and Plasterboard to the ceiling and new partition walls.
- Expansion Foam has been used to fill the difficult gaps that it was not suitable for plasterboarding
- Outside Corner Strips has been applied to the Chimney Breasts
- All the skirting board has been cut and positioned, although not yet secured as plastering needs to happen.
- I have tested all the electric cable runs using a light fitting and connection the fuse box end to an extension lead. I will hopefully get ALS Frappat to connect to the fuse box later this year.
- My tools have been moved into the Store Room and the floors swept and tidied .
I will do a final video before leaving next weekend and post below.
La Maison Grenier Renovation Video
Key Tasks Still To Do Next Trip (Whenever I am allowed and able to come!)
- Scrim all the board joins and over gaps
- Fix Paper Corners on the boarded internal corners
- Apply thin coat of plaster jointing
- Level the stair sides
- Replace damages floorboards
- Deep Clean the flooring joints
- Sand the wooden floorboards
- Fix Door Handles


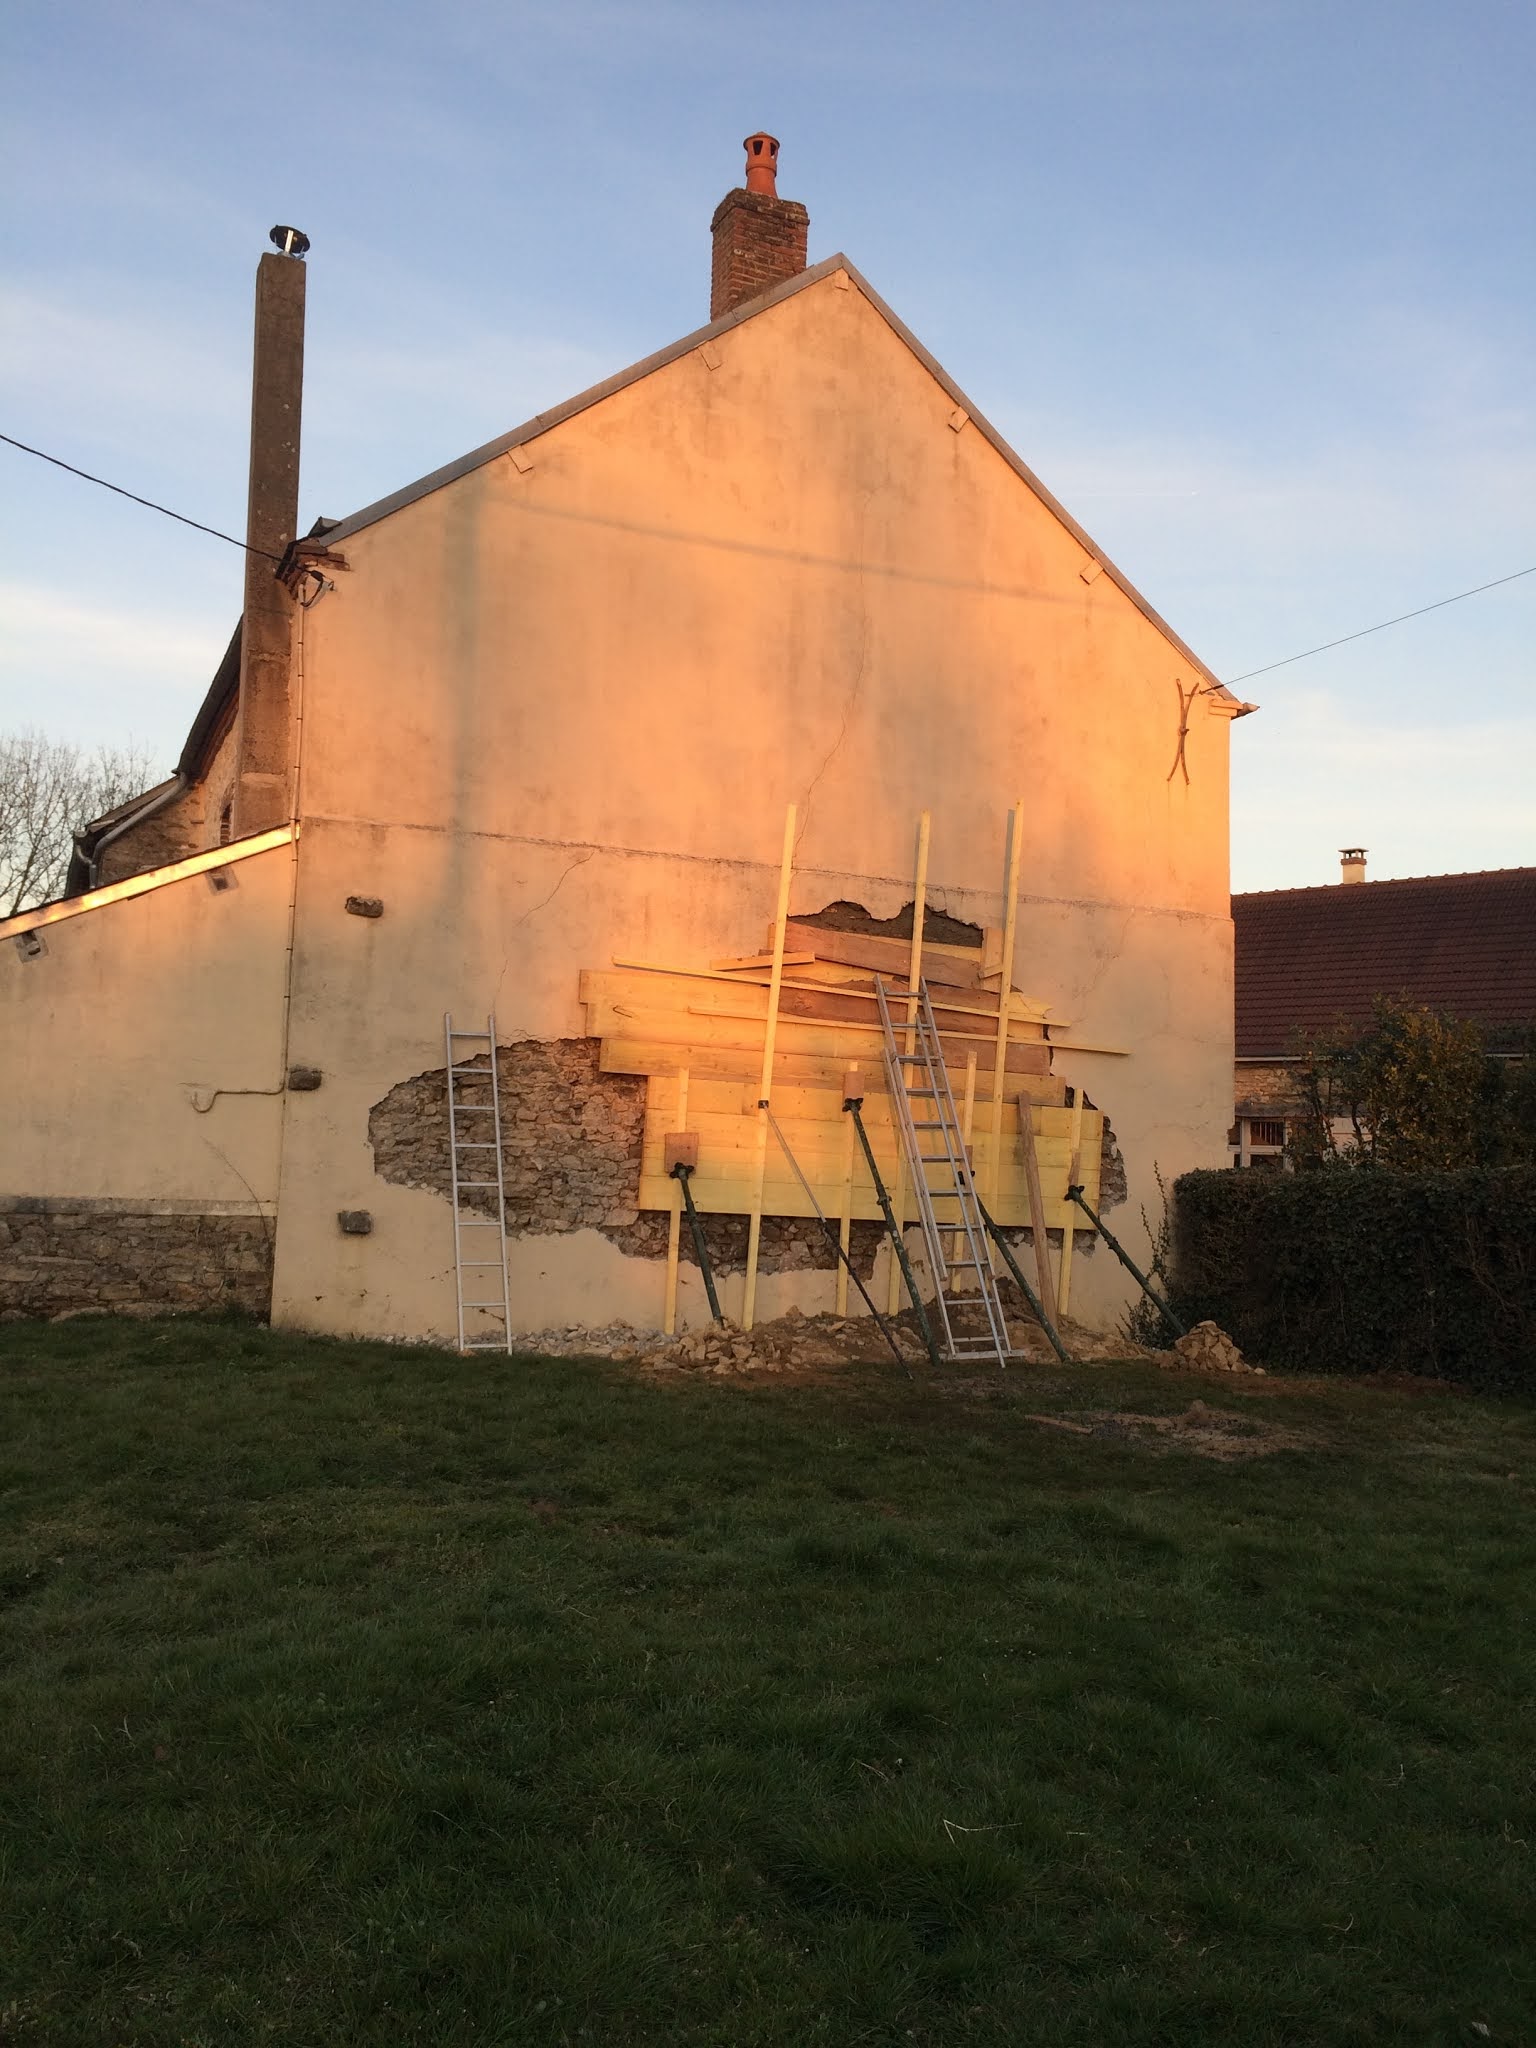
 Once exposed it was clear that the last ceiling bean at the rear above the breeze block section was rotten, if fact upon inspection it is clear that there was a wood burner in the middle wall corner at some point with a chimney through the old roof here and the beam is burnt, requiring a new beam or central section to be replaced. Over the weekend I realised that once blocks are removed and a new rear Glazed Door is installed it will not only allow light in downstairs, but in the upper floor if I installed a glass floor section 70x100cm in this area and i have found a company who will provide the tempered glass to do the job, once everything is prepared and final measurement are available.


