Weekending 28th October
This week the task is to complete the Cedar Cladding on the East Side of the Garden Room.
 Cedar Fix - Tuesday 23rd
Satisfying day, but hard work due to the measurement complexities and managed to salvage a few mistakes during the process.
So, now a few final finishes to do around the door and top, but looking good.
Also, got some info and clarification today from Bostik on the right Self Levelling Compound to use on the floor and it looks helpful so a bit of reading to do.
Cedar Fix - Tuesday 23rd
Satisfying day, but hard work due to the measurement complexities and managed to salvage a few mistakes during the process.
So, now a few final finishes to do around the door and top, but looking good.
Also, got some info and clarification today from Bostik on the right Self Levelling Compound to use on the floor and it looks helpful so a bit of reading to do.
 Wall Battens Fix - Monday 22nd
SAS Adam arrived early as planned to take final measurements of the windows and back door. These will be made and installed in the New Year.
I cut and fixed the OSB Board to the side walls and on Tuesday the Tyvek Breathable Membrane was applied with both vertical and then horizontal battens.
I also used some fine wire mesh on the sides and bottom sections as an insect barrier.
Tomorrow should see the Western Cedar being fixed with invisible nails.
Wall Battens Fix - Monday 22nd
SAS Adam arrived early as planned to take final measurements of the windows and back door. These will be made and installed in the New Year.
I cut and fixed the OSB Board to the side walls and on Tuesday the Tyvek Breathable Membrane was applied with both vertical and then horizontal battens.
I also used some fine wire mesh on the sides and bottom sections as an insect barrier.
Tomorrow should see the Western Cedar being fixed with invisible nails.
Weekending 21st October
Work continues this week and with guidance and help from Mick Elkins we expect to have the Structure and Roof on the Garden Room all tiled, including new matching real slate tiles on the Utility Room.
Structure Started - Monday 15th
Having removed the old render on the upper level of the rear wall last week, I gave it a first coat of new render down to the roof level in preparation for the structure work this week. I am going to have to determine a way to get back up to the wall to apply the final coat to match in a best as possible with the other render!

Despite surprising unexpected mid day rain, we succeeded the get the outline structure up and the external door uprights installed as seen on these snaps.
It is strange how the size of the room comes into proper view when this was completed.
So, now the rest of the week will see the main middle cross beam going in and the rafters to support the battens.
Roof Structure and Felt - Tuesday 16th


Good progress today with us completing the Roof Structure and removing the tiles from the Utility Room, laying the roof felt and applying some of the battens.
Need to replace a rotten end rafter tomorrow, add the rest of the battens and start laying the new slate tiles.
Roof Batons and Tiling Start - Wednesday 17th
Well, it got up to 28 degrees in the sun today and is a good job the back of the house is in the shades most of the day. We completed laying all the tile batons and started the tiling on the West Side, where it was difficult because of the sloping angle on this side of the house and the area around the flue stack.
Should be a lot more straightforward tomorrow.

 Tiling nearly complete - Thursday 18th
It the important fiddly edges that take the time, but once completed the main tile runs are quite quick even for a novice like me. I have to say working with quality SLATE tiles is great and they are such a nice natural material that produces a great end result.
Whilst Mick Elkins did most and all the difficult bits, I actually laid around a 3rd of the Garden Room area. Very satisfying!
Hopefully, we will complete tomorrow and then the guttering by end of the month.
Tiling nearly complete - Thursday 18th
It the important fiddly edges that take the time, but once completed the main tile runs are quite quick even for a novice like me. I have to say working with quality SLATE tiles is great and they are such a nice natural material that produces a great end result.
Whilst Mick Elkins did most and all the difficult bits, I actually laid around a 3rd of the Garden Room area. Very satisfying!
Hopefully, we will complete tomorrow and then the guttering by end of the month.
 Window Cill Ledge - Saturday 20th
Easy half day today and then did some gardening, but got the Cill Support Ledge frame done in readiness for Francis of SAS Adam on Monday to measure for the new windows and door. Installed vapour barrier and insulation within the frame onto which plaster board will be secured once the windows are installed.
Window Cill Ledge - Saturday 20th
Easy half day today and then did some gardening, but got the Cill Support Ledge frame done in readiness for Francis of SAS Adam on Monday to measure for the new windows and door. Installed vapour barrier and insulation within the frame onto which plaster board will be secured once the windows are installed.
So, next week the plan is the East Side End and Cladding Wall to be installed.
Weekending 14th October
Well having arrived and relaxed a bit I started with a few gentle jobs as the key work on the Garden Room Structure and Room was not due to start until 15th.
Rain Water Waste - Monday 8th
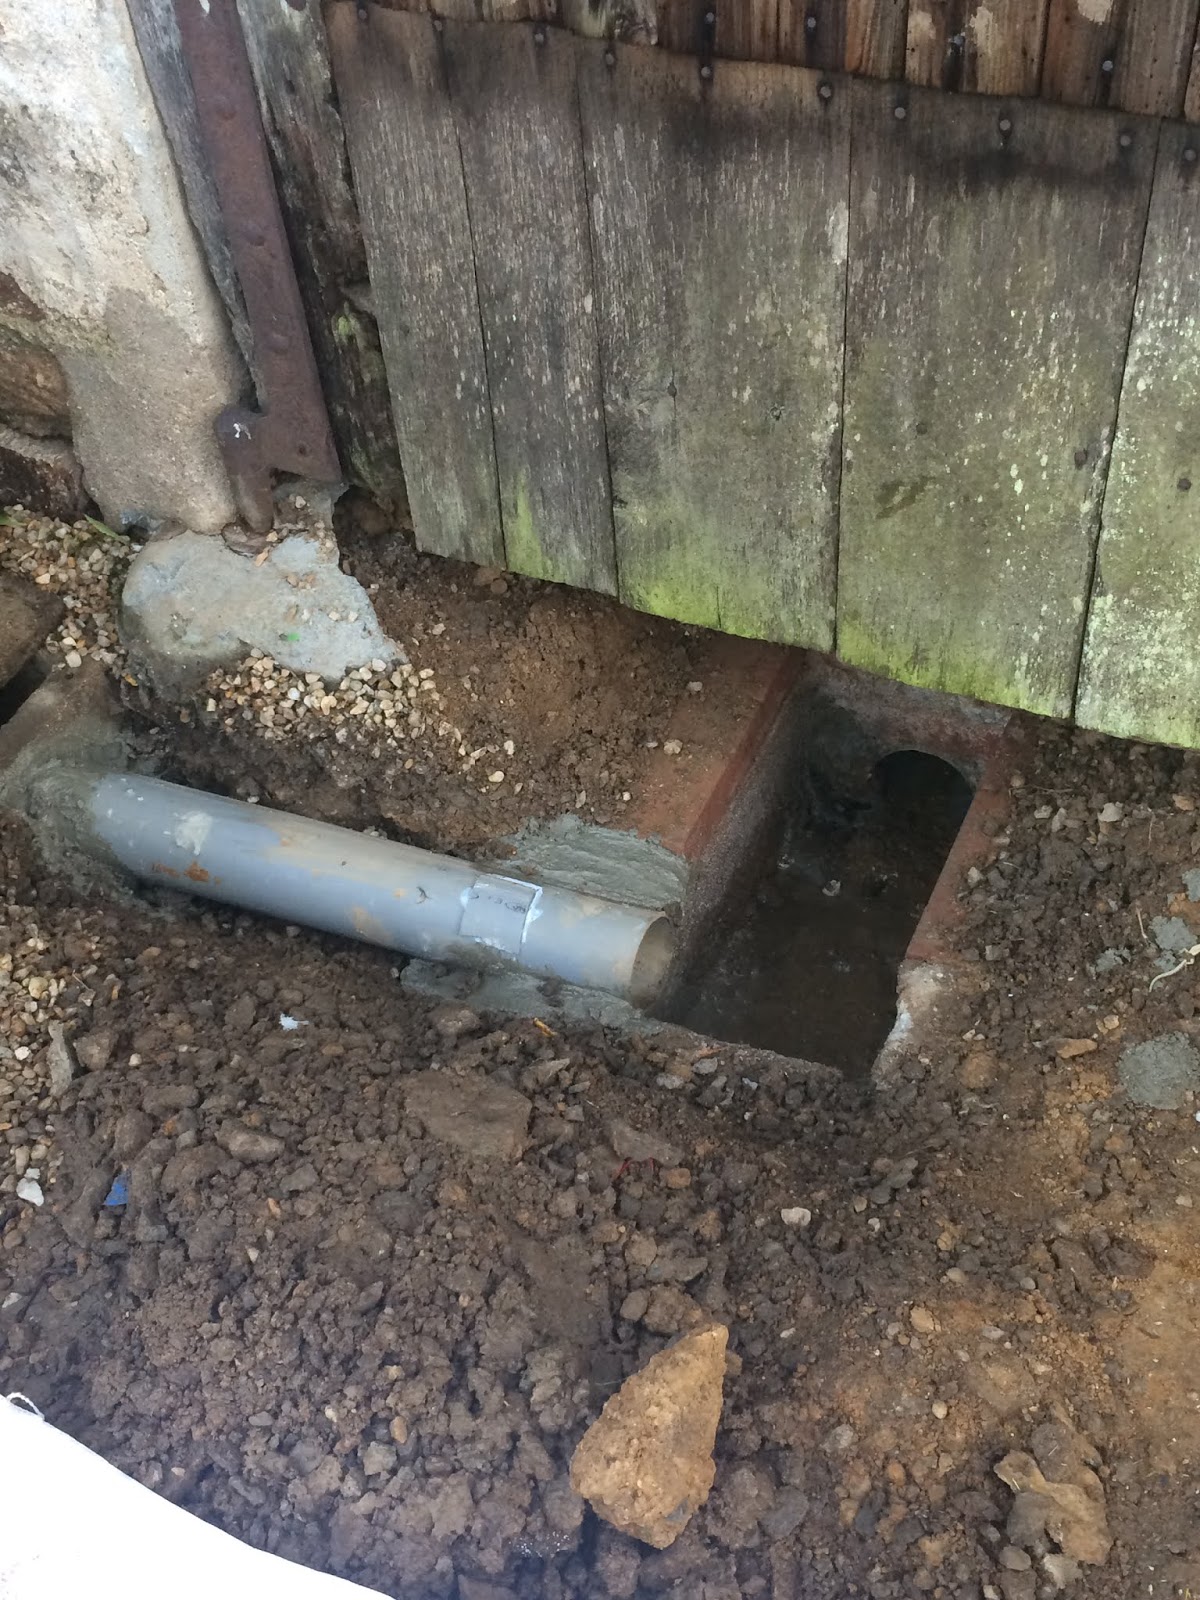
 Having decided to add Galvanised Guttering to the Garden Room and ordered some good stuff locally for the rear of the Barn as well, I needed to add a waste pipe to the new drain I had installed in the summer. This of course meant that it would cross over the Fosse Vent Pipe I had moved earlier, but with care it proved successful and the drop to the drain was good. As shown it is positioned on the corner of the rear wall, where the windows and end post will be located. Just need to adjust the plastic pipe when the down pipe is installed next week.
Material Delivery - Monday 8th
Gedimat did a great job yet again and turn up at 8:30 on Monday morning as promised with the Slate Tiles, and all the various fixings & wood we will need for the structure. I loaded all the wood into the Barn to keep dry and checked that all was there.
Low Wall Foundation- Monday 8th
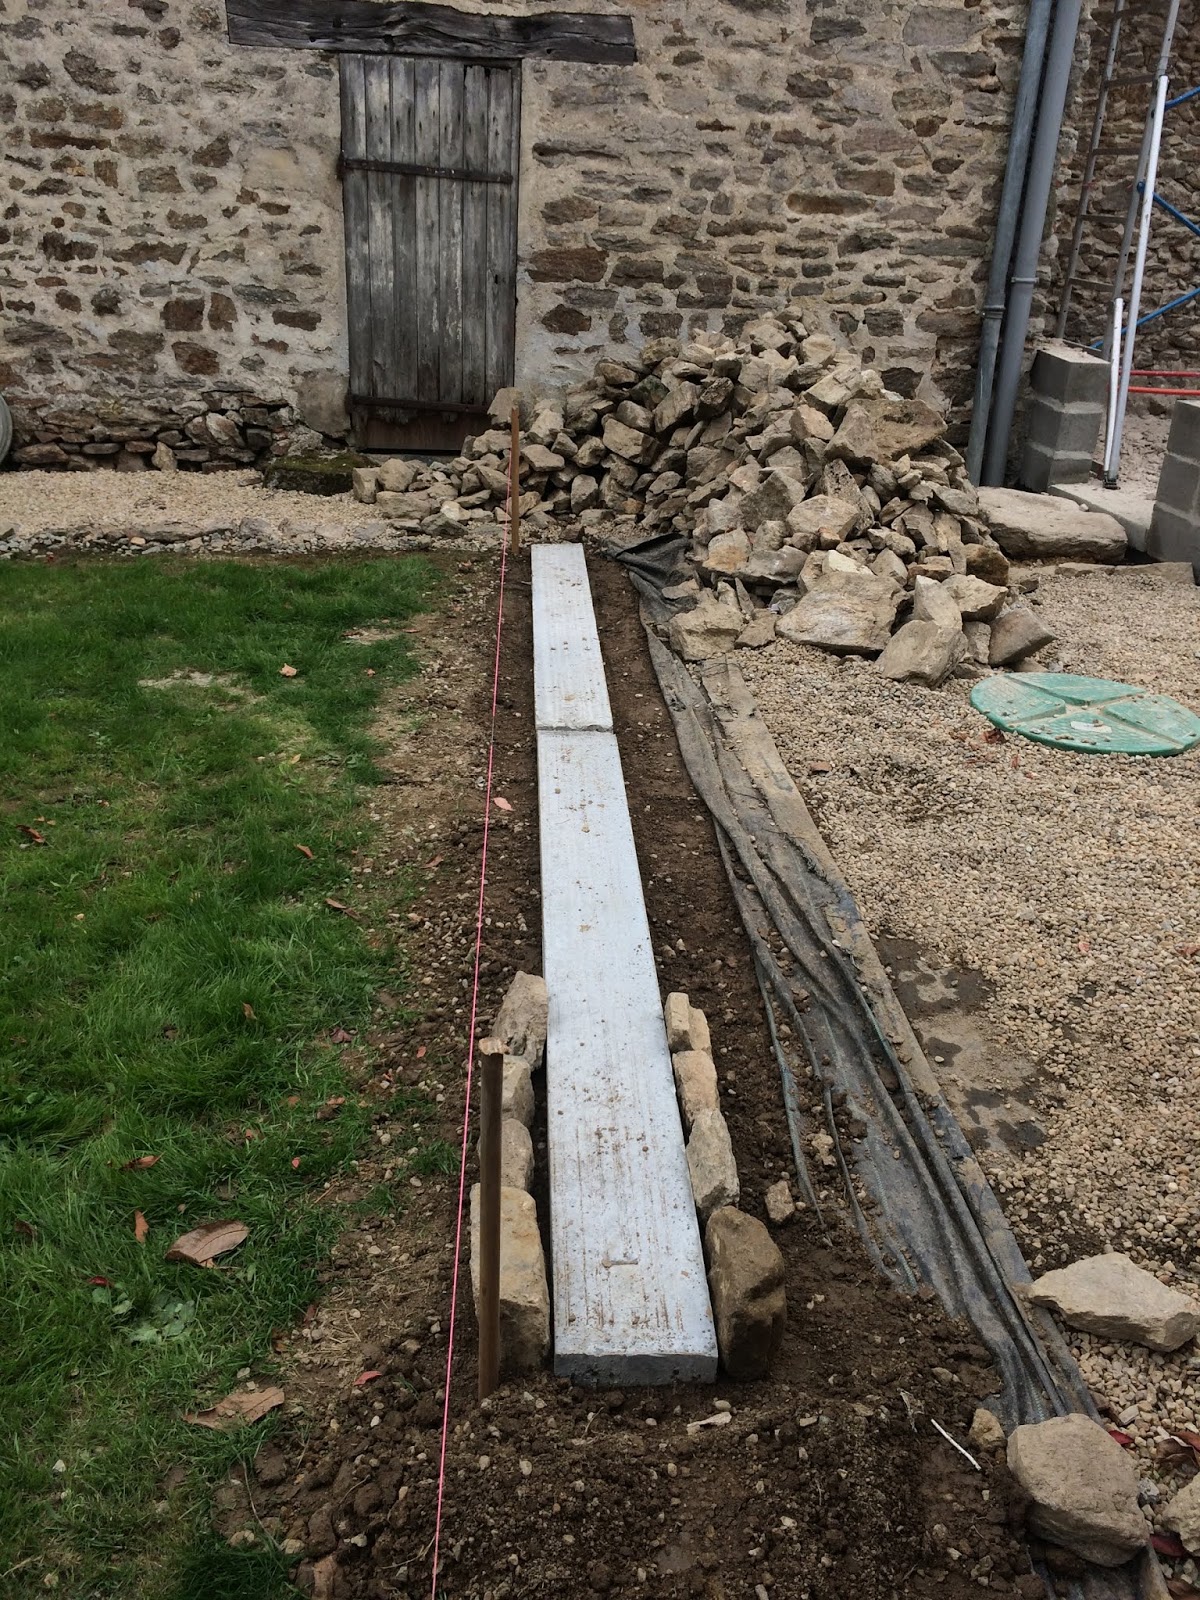
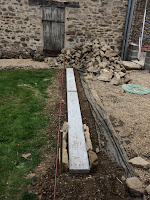 As I had a hour or so before lunch, I prepared the ground and laid a concrete slab for the low 500mm wall I will build over the next few weeks, when there is nothing else to do! This will use some of the stone that has been excavated and in the pile.
The wall will help segregate the grass and gravel and help to add definition to create a courtyard effect at the back, between the Garden Room and the Piggery (that is a future project)
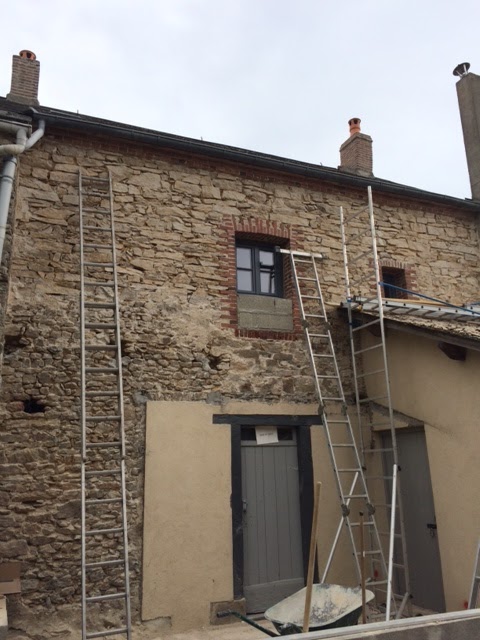
Render Removal- Monday 8th
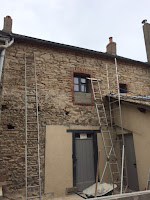
 As I have the best part of a week until the main task starts I erected my Work Tower and started the removal of the render from current rear stone wall and as of Monday 8th the work is going well as shown. So hopefully I might get this completely removed from above the Utility Room on Wednesday and maybe over the weekend I might get the new lime render applied to the higher wall elements before we start the structure work. Just depends if the material is available off the shelf of to order.
-Thursday 11th
Well a few days work has resulted in being able to remove most of the old render and especially that above what will be the new roof level on the Garden Room Side and Utility Room.
I will have time once the roof structure is complete to finish downstairs where i will render to leave the stone exposed and I have decided to remove the concrete render around the door

I have bought 10 bags of ENDUNI to render the wall and will try to make a smooth finish above the roof and use to cover the other external rear walls so they are in keeping. This fine gritty render will also be good for some internal walls in the utility room to avoid using plasterboard.
Hopefully, I will have enough but the benefit if ENDUNI is that I can buy more with confidence of the colour match
Material Delivery - Thursday 11th
I had a surprise as Gedimat delivered the Insulation, Plasterboard and most of the Guttering this afternoon, rather than tomorrow. So I had to enlist the help of a good neighbour to hump all the plasterboard into the Barn, as it was heavier than I had expected!
Utility Rear 1st Render Coat - Friday 12th
Well, the first coat to a 4 sqm area above the Utility Room has been applied to the stone wall and to fill the joints. It material is really good to work with and sticks to the damped stone really well. It is best applied with a dry wet mix, a little too much water and it is get to apply but does not stick as well.
 So, just another 7sqm to do over the weekend to get the upper level ready for the new roof, assuming the predicated heavy rain holds off. Just need to figure out how best to apply the final coat. The colour is dulling already, so should be good!
Landing Window Render Coat - Saturday 13th
Another glorious day and warm. Took 90 minutes this morning to re-assemble the platform, but once again the render mix was really good and work progressed as shown. It is interesting how much lighter yesterdays render is now and the yellow hue has gone!
Hopefully, if the predicated rain holds off tomorrow a long day should see all the first coat being applied.

Upper Back Render Complete - Sunday 14th
Well, pleased to say the predicate rain this afternoon held off and I managed to complete the upper section of the new render to the back wall, that will be above the level of the roof we will erect next week.
Hard work from 9am-5pm without a break, but satisfying although back.
So, once the roof structure is done I will apply the final coat and create a rough brushed finish that will be the same as I will apply to the rear elevation of the Utility Room and Low Garden Room Wall... hopefully.


