Wednesday 29 January 2020

Spring Trip - March 2020

Despite having done a full write up over the last 2 weeks of all the work completed, I pressed the wrong button late last week and deleted the post, not being able to recover all the work and photos posts!

So, will do so once I have the energy to do so again, but is the meantime I have recorded a short video of the flooring work completed that shows how things have change and completion is now insight.

La Maison Grise - Spring Trip 03/2020


Thursday 23 January 2020

January 2020 Trip

Week commencing 13th January
The work plan has been disrupted a little this visit as it is so cold and below 5 degrees so I have to be careful what is done when

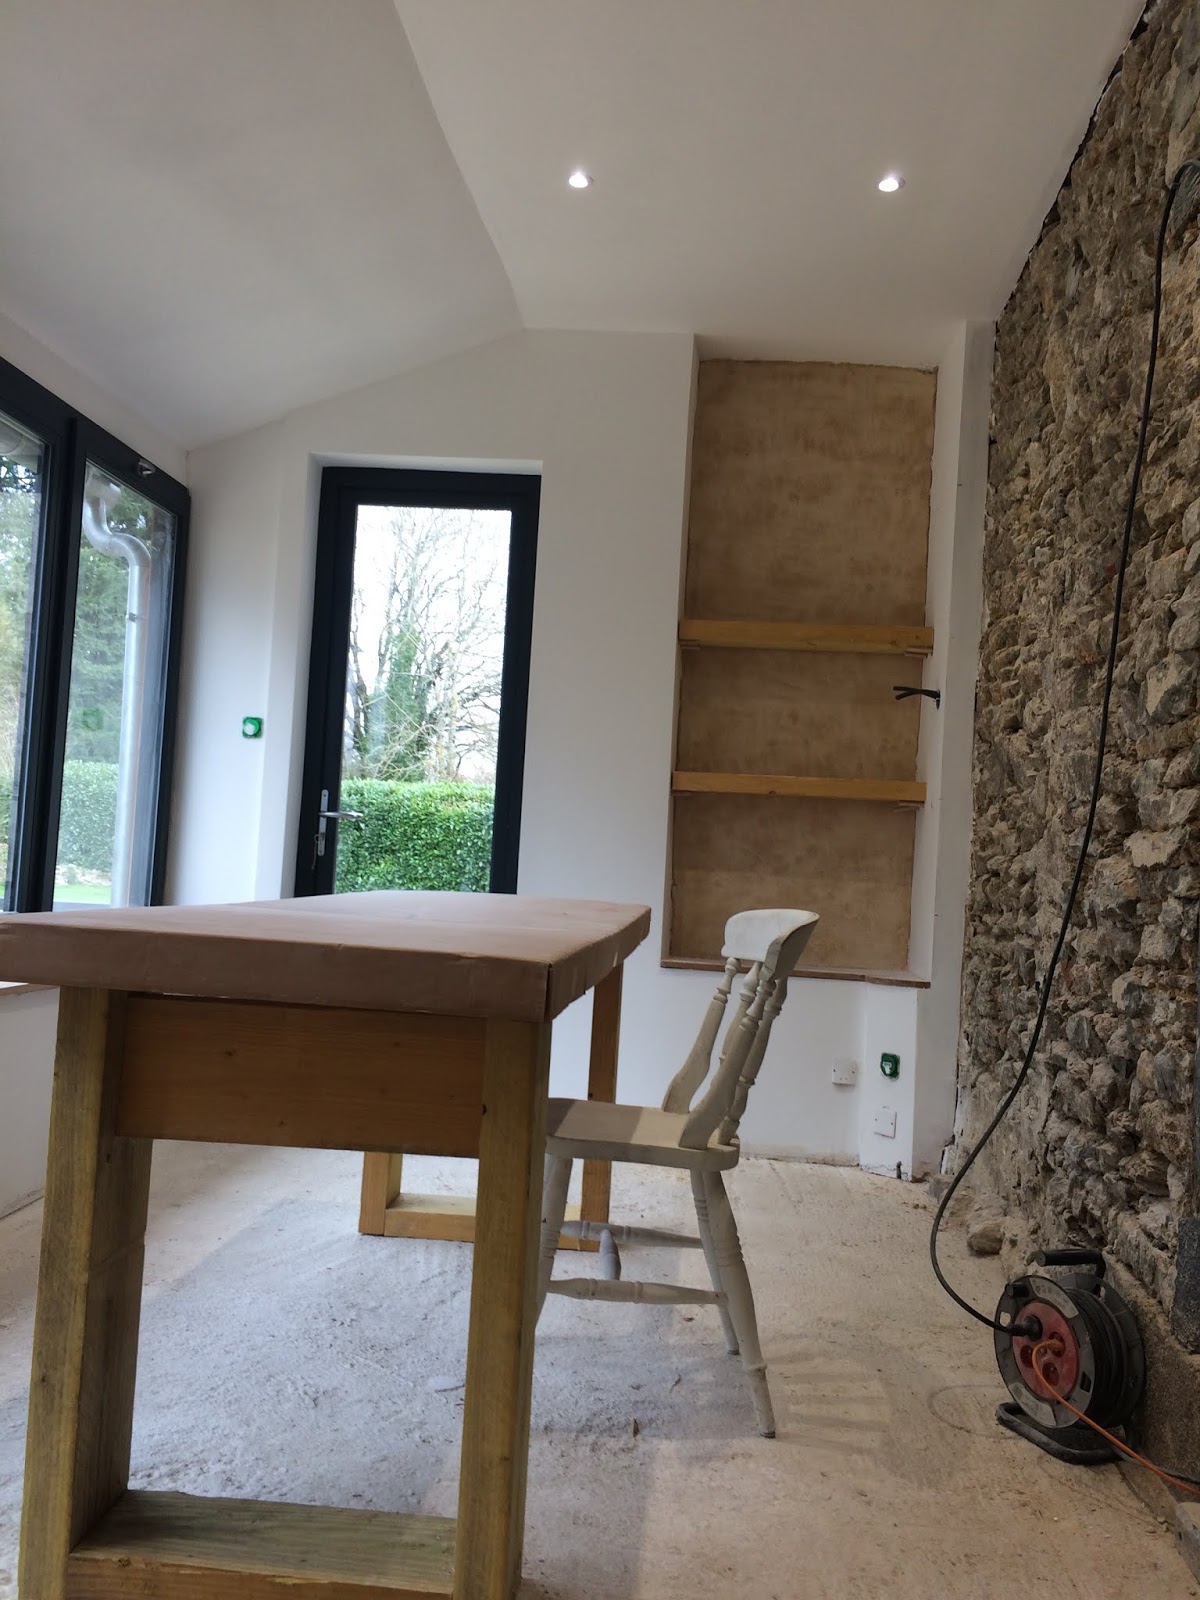
Alcove Shelving - As planned I cut down one of the roof joists I had left to create some shelves in the Alcove in the Garden Room, as shown here.  I have another to place above and then need to plane them down and paint to create the final finish, as well as cut some slots underneath to support each with the dowels I have placed in the side walls.


Dining Leisure Table - Again using the spare roof joists I have create legs and a frame for a table to be placed in the Garden Room.  It is 2m x 78cm and I have ordered some oak panels to form the table top. So once planed and the legs painted it should look good and sits in the room perfectly to easily seat 6, if not 8 places, as shown below:


Downstairs Floor Leveling - I have been struggling with getting a plan for the level of the Garden Room floor to ensure the tiling matches the height of the Utility Room, so eventually took the plunge, having done a lot more research. I treated the floors with the Weber Sealant and measured things again. I decided  an average covering of 5mm of self leveling compound was needed in three main areas of the Garden Room. I actually ended up applying a thinner second coat, after another sealant coat.  It has ended up satisfactory and before I leave this time I will apply a top coat of sealant to the Garden Room.

Water Feed Connections - Before the tiling can commence I needed to complete the Water Feed Connection and to be honest I had been delaying this as it required to make PER Fittings to the plastic pipes the guys had run.  Again I took the plunge and realised I had over engineered the wooden support at the back, so had a bit of work to do to remove that through the feed holes.  Although it took a lot longer than expect it ended up good and I made good and sealed around the all the shower and bath water feeds and test connected the taps.  Very pleased in the end.


Floor Sealant Tape
Whilst in the UK and researching I found some shower tray sealant that is attached to the walls and 'lips' over the tray, so then applied this to create a full water seal on both the shower tray and bath edge under the taps. So with luck no nasty leaks!


Shower Door
I also fitted the Shower Door, so I could seal everything and fully tile up to the door.  Despite choosing a low cost 180 euro Leroy Merlin door it proved great.  Easy to install and adjust to the width and works really well, with great edge seals.  It is a swivel door 680mm wide and sits on the shower tray really well.


Electrical Inspection
Had an inspector from ConsuelPRO visit, to inspect the new Electrics, which is essential to get a Certificate of Conformity and only then will EDF activate the new account and switch on the supply.  It was very impressive and professional.  He found a few faults that Frederic of ALS_Frappat needs to fix, but I replace the radiator connector covers with water proofs ones.  These are seriously good and well engineered.

Bathroom Wall Tiles- So now, I can start cutting all the tiles.... and on Friday 24th I managed to tile most of the shower and all the bath area.  Just a few tiles to cut around the inset shelf in the shower and a few smaller edge tiles to cut, as well as the Mosaics to apply.  It was hard work yesterday and made more difficult by not be able to find a manual tile cutter or file over here.  Will hopefully finish all today a take a few snaps.
 

Well two full and hard days of tiling has resulted in a good outcome that I am pleased with and I just need to grout now when I return in March. A few mistakes and miscalculations, but should end up with a good result.